
The FileDrop allows non-users to securely upload files to your site without having to log in.
Overview
When the FileDrop is enabled, there is an "Upload via the FileDrop" area on the right side of the login screen. Clicking this displays the FileDrop interface, which provides fields for the person wishing to send a file to enter their information, drag and drop files (or browse to select), an area to select recipients, and a field to include an optional message. When they click Upload Files, the files they've attached will be uploaded to a workspace called FileDrop on your site. They never log in and they never see anyone else's files.
Managing
After changing any of the settings below, be sure to click the blue "Update" button to apply the changes.
Both Admins and Super Users can manage the FileDrop. After the feature has been enabled for the first time, a workspace called "FileDrop" will appear directly below the Home workspace in the Files area. All files uploaded through the FileDrop interface will appear in this workspace.
The following settings are found at:
Manage > FileDrop > Settings
Enable the FileDrop
To enable, log in as an Admin or Super User and navigate to Manage > FileDrop > Settings and check "Enable the FileDrop". If enabled, guests can upload files through the FileDrop feature on the login page and will not be able to view files on your site. Otherwise, only users who can log in can upload to the site.
Hide the FileDrop link from your Login page
Toggling on hides the link to the FileDrop from your home page, but does not disable it. You will need to send the URL to any guests who need to upload files to the FileDrop.
Limit the Total Size of Files that can be uploaded at one time
Toggling this on and setting a size limit prevents a guest from uploading files that exceed the limit you set. Helpful to ensure someone doesn't upload extremely large files that might fill up your site and prevent others from uploading.
Require Login for File Links in Notifications
When disabled, the links in notification emails sent to recipients will allow for the download of the uploaded FileDrop files without having to log in. If the documents you typically receive are sensitive in nature, enabling this feature will force the recipient to log in before being allowed to download the files. If the notification email were to be viewed by someone other than the intended recipient, this ensures the files could not be downloaded.
Require Uploader to Provide a Phone Number
This changes the Phone Number field from "Optional" to "Required".
Require Uploader to Add a Message
This changes the Message field from "Optional" to "Required".
Expire Notification Links
Sets the number of days the links in the notifications emails will expire and no longer download the file (though the files remain on the site). Set from 1-999 days or "Never".
Additional Instructions for the FileDrop
Text added in this field will appear on the FileDrop interface. This will allow you to provide assistance or direction for your FileDrop users, such as "Please select a recipient before uploading".
The following settings are found at:
Manage > FileDrop > Workspace Info/Users
Override Permissions/Notifications/Global File Management
You can set custom permissions, notifications, or file management options for the FileDrop workspace which overrides member base permissions while they are within this workspace, or global file management settings for files in this location. Please see this link for more information:
Workspace Users
Adding users to the FileDrop workspace allows you to give them access to the files within the workspace. As with other workspaces, Admins and Super Users are already members by default (since they automatically belong to all workspaces). To add regular users, begin by typing their name or username into the "Search Users" field, or click and select the users you wish to add.
You can also create new users and have them automatically added to the FileDrop workspace by clicking "Create User for this Workspace".
The following settings are found at:
Manage > FileDrop > Workspace Info/Users
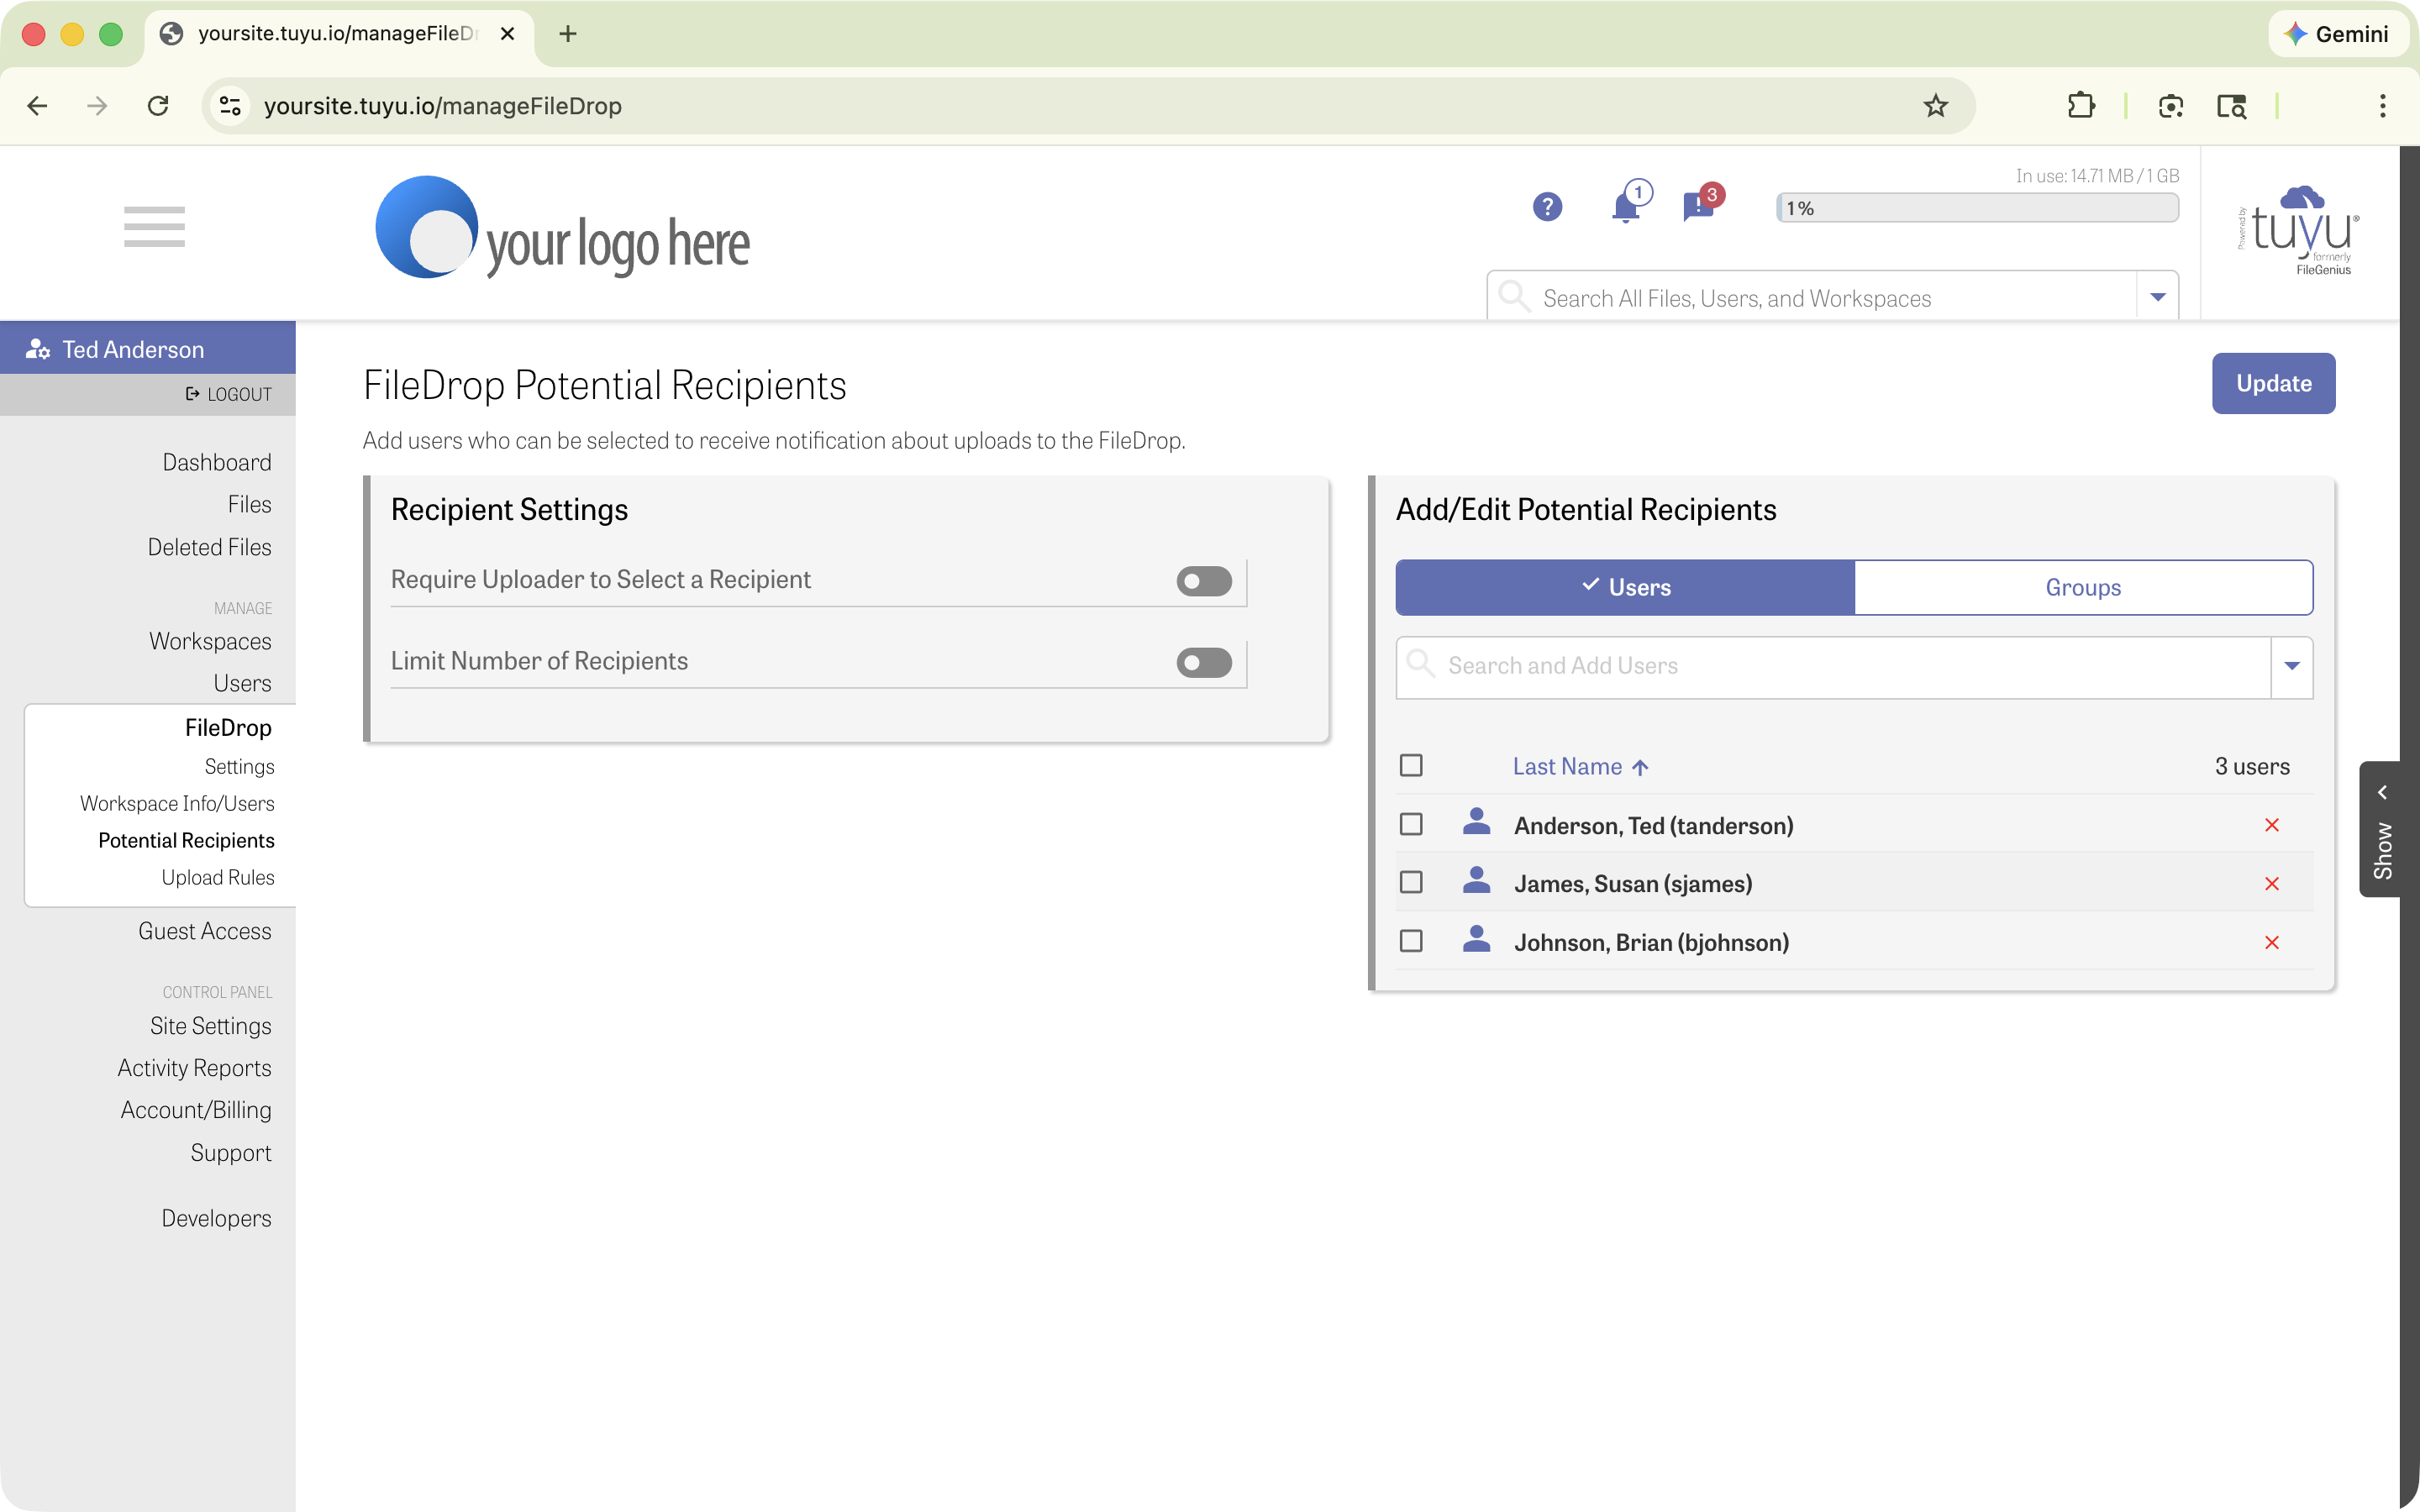
FileDrop Potential Recipients
Adding a user here will allow a FileDrop guest to select their name(s) to be notified when files are uploaded through the FileDrop.
Require Uploader to Select a Recipient
When toggled on, this requires the uploader to select at least one recipient from the "Add Recipients" list on the FileDrop form. This ensures that someone will be notified when a file is uploaded.
Limit Number of Recipients
Enabling this will limit the number of recipients the uploader can select, ensuring that only a set number of people are being notified and not everyone on the list.
Add/Edit Potential Recipients
Here you can add those users (either individually, or via User Groups) that you wish to appear in the "Add Recipients" list in the FileDrop form. Search by name or username, or select from the drop-down list.
The following settings are found at:
Manage > FileDrop > Upload Rules
You can create rules that can direct uploads to the FileDrop to different locations on your site based on certain criteria.
You can set rules based on:
- Uploader email address
- Selected recipients
- Uploader message
Just click "Add Rule", select the rule option, and enter the criteria. If you have multiple rules, drag to rank each rule; in the case of multiple rule criteria being met, the highest-ranked rule will apply. Be sure to click "Save Rules" when finished.
Direct Link to the FileDrop Interface
Users can access the FileDrop interface from the link on the home page (when enabled and "Hide FileDrop from Login Page" is disabled), but you may wish to provide a direct link to the FileDrop to eliminate the step of going to the login page first. The direct URL (address) of your FileDrop page can be found under the "Hide FileDrop from Login Page" section, to the right of the "Enable" button. Simply select and copy this link to pass along as needed.
Comments
0 comments
Article is closed for comments.