
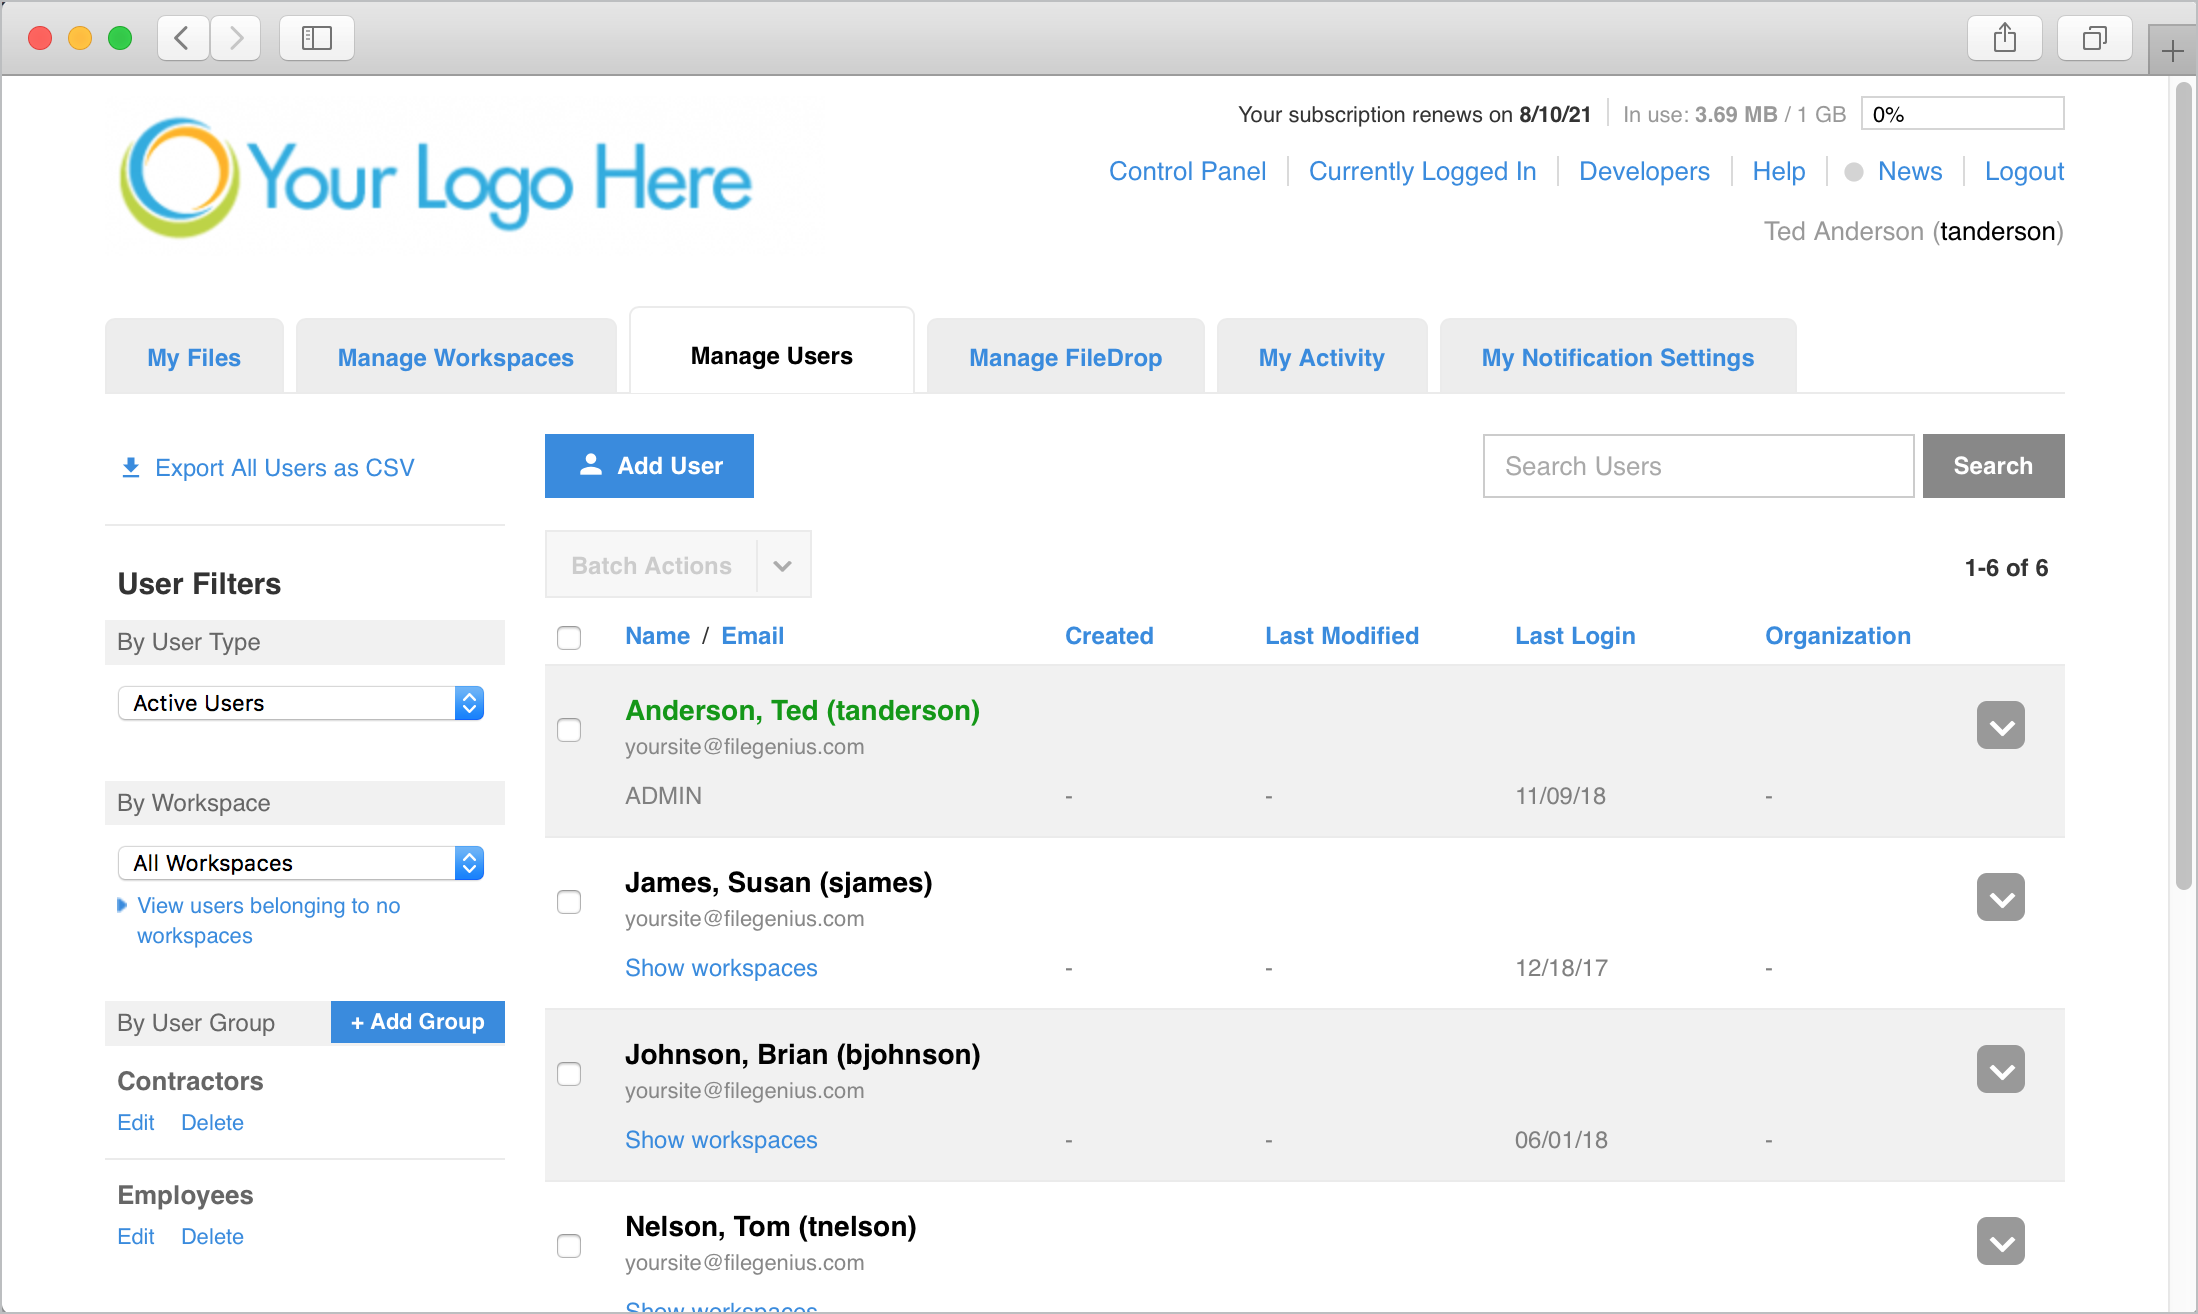
To create a new user click the blue Add User button from the Manage Users tab. This will present a window that will allow you to configure the new user.
NOTE: When finished adding/editing a user, be sure to click the blue "Add User" or "Edit User" button to save any changes.
Workspace Info
These fields are for entering the user's primary information (name, email, etc.). Note that fields marked with a red asterisk are required.
If you wish to add multiple users at once, click the "Add Multiple User?" link (see the article "Adding Multiple Users" for more information).
Permissions and Notifications
This section allows you to define what actions the user should be allowed to perform on the site as well as whether or not they should automatically receive notifications when a file is uploaded and/or downloaded from a workspace they belong to.
Administrator – Setting someone as an Administrator (Admin) will give them full access to the entire site, including adding and accessing all workspaces, creating and editing all users, and full access to the control panel and all features therein (including security and account settings). Make sure only trusted team members are set as Admins. When the Administrator box is checked the other Permissions and Notifications option will disappear as Admins by default have all permissions and set their own notifications.
Other Permissions – If a user is not set as an Admin, they must be assigned at least one permission before the system will allow you to create the user. Checking a box to the left of a permission will grant the user that ability for any workspace they belong to (assuming custom settings have not been added to a workspace).
Allow this user to reset their password? – Leaving this checked will allow a user who has forgotten their password to reset it from the login screen by clicking the "Trouble logging in?" link below the password field. This eliminates the need for the user to contact an Admin to do it for them. If you have multiple people using the same username/password to log in with, you may wish to uncheck this box so that one user does not inadvertently change the password for everyone.
Upload/Download Notifications – Checking the Upload and/or Download Notifications will cause the user to automatically receive an email notification any time a file is uploaded to and/or downloaded from a workspace the user belongs to. When the Upload Notification is checked, the user will appear in the "Automatic Recipients" when doing an Upload/Send or Send, indicating they will receive a notification.
Activation
When creating a new user, the "Activate this user?" option is checked by default and will immediately email the user with a link to your site and their login credentials as soon as you click "Add User". Under certain circumstances, you may wish to create the user but not immediately activate them such as when you know you want to create additional workspaces the user will belong to or populate certain workspaces with files before the user has access. In these cases you can uncheck the "Activate this user?" feature and the user will be created but designated "Inactive", so no new user email is sent and the user cannot log in. Then, when you're ready, you can activate the user to grant them access to the site.
If activating the user immediately, you can also include a message with the email the user receives with their login information. Just type the message in the "Attach a message to this user's introductory email?" field.
User Workspaces
This area is for defining which workspace(s) the user should have access to. You can add workspaces by typing a name into the "Start typing a workspace name" field. Any workspaces with names that match what you have typed so far will appear in a list below the field. Click a workspace name to add it to the list. You can also click the "View All Workspaces" link to open a window of all workspaces available to the user. Click to select all of the workspaces you wish to add the user to. Click a workspace again to unselect. Selected workspaces will be shown with a gray box around it. When finished click Save Selection.
Sub-admins
To make the user a Sub-admin of the workspace, click "Make Sub-admin" below the workspace. See the document "Sub-admins" for more information.
Custom Settings
Custom permission/notification settings specific to the workspace can be added for the user you're editing. This allows you to set permissions in such away that apply only to this user for this workspace and override all other permissions, even the Override Workspace permissions.
Click "Add Custom Settings" below a user's name and set the permissions and/or notifications to apply to this user while they are within this workspace. When finished click "Save Custom Settings".
Example: Say you have a user that you wish to have full permissions for most of the workspaces they belong to, but to be able to download only in one particular workspace. You would set their user permissions (on the left side of the page) to allow all actions (upload, download, etc.). Then you would click "Custom Settings" below the workspace you want increased restrictions on, set their permissions for "Download Files" only, and click "Save Custom Settings".
Remove
To remove a workspace from a user, click the "Remove" link below the workspace name.
Add to all future workspaces
Checking this option will automatically add the user to any new workspaces created in the future, providing a shortcut for certain users that will usually belong to all new workspaces. The Admin creating the workspace can choose to remove the user before creation if desired.
Create a workspace based on the user's name
This feature provides a shortcut for creating a custom workspace for the user and adding them to it. Checking this will create a workspace with a name generated in a format of <Last Name>_<First Name> and automatically add the user to it. Example: A user named John Smith will have a workspace named "Smith_John" created for them.
Create a new workspace for this user
This allows you to create a new workspace with any name you wish and add the user to it without having to go back to the Manage Workspaces tab and create it in a separate step. Just click the "Create a new workspace for this user" link, enter the name for the new workspace and click "Create Workspace". The workspace will be created and added to the list of workspaces the user will be assigned to.
Comments
0 comments
Article is closed for comments.